


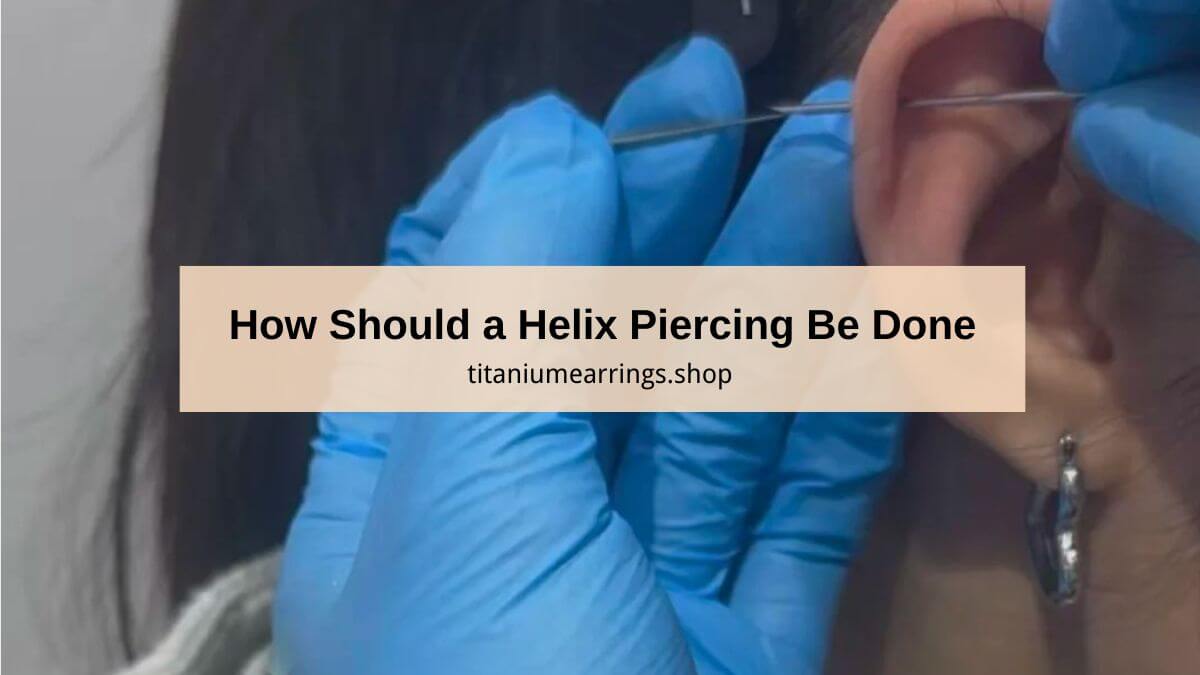
In this article, you will to learn more about doing helix piercings. The helix piercing is a very easy piercing to do. However, it does have to be done perfectly, and many people often ask how should a helix piercing be done correctly.
Today we’ll walk you through the complete process so you can clearly understand how should a helix piercing be done from start to finish. We have two piercers and two volunteers to show you the proper helix piercing technique step by step.
Helix Piercing Placement
When explaining how should a helix piercing be done, the first step is always to swab the ear. Make sure it’s nice and clean, front and back. After that, pick a spot and mark the location. Make sure the customer is okay with the placement before you proceed.
Marking the Helix Piercing Spot
When marking helix piercing placement, you want to make sure they have a nice fold in the ear. You want to make sure there’s enough tissue in the back. The piercing should sit in the indentation—the curve of the ear.
Helix Piercing Ideal Location: In the Ear Curve, Not on the Flat
You don’t want the helix piercing in the ear curve to be on the flat of the ear. You don’t want it to be too far on the ridge of their ear. Otherwise, migration will happen. Rejection will happen.
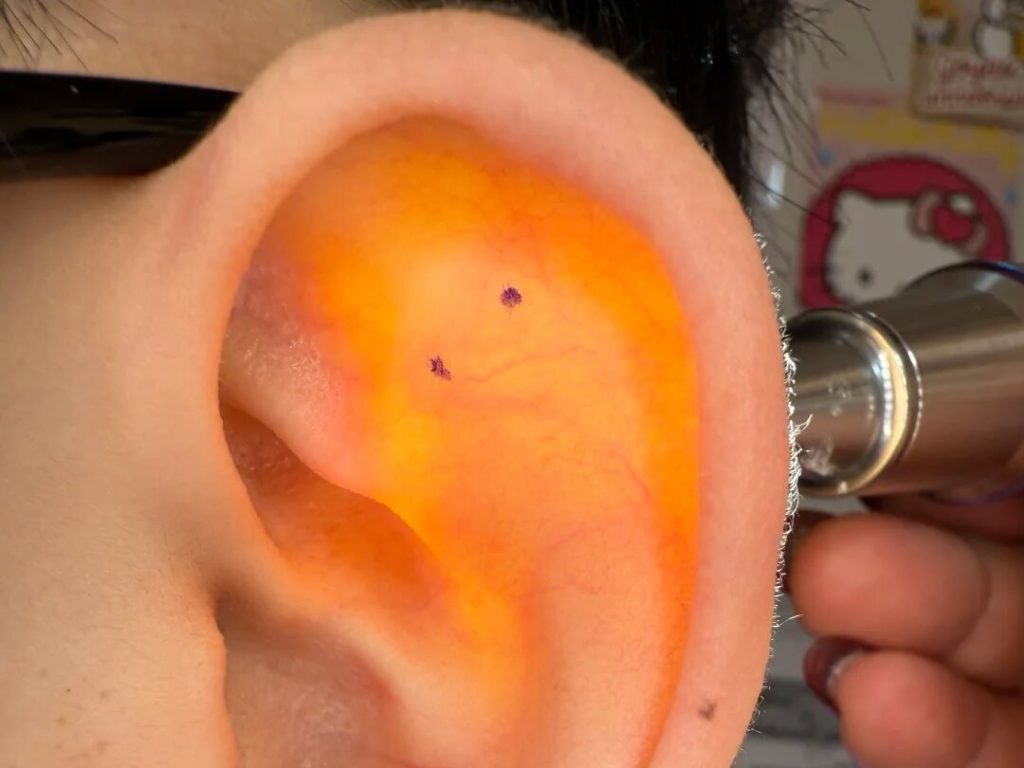
Once you’ve marked the spot, have the client check in the mirror. Make sure that’s exactly where they want it—proper placement is one of the key answers when people ask how should a helix piercing be done safely. The client has the final say on helix piercing placement.
Why Not Helix Piercing Guns?
Many beginners wonder how should a helix piercing be done and whether they should use a gun or needle. Needle or gun for helix piercing? I’ve told you guys before: piercing guns are absolutely not acceptable.
The biggest no-no. Those places at the mall that do piercings with their piercing guns cause way too much trauma to the cartilage.
You want to go to a professional place. You want to use a proper hollow piercing needle. For helix piercing vs piercing gun, the needle wins every time.
Best Jewelry for Helix Piercing: Captive Earrings vs Other Options
Understanding how should a helix piercing be done also involves choosing the right starter jewelry. I personally have come to find that captive earrings are the best jewelry to use to start with for helix piercings.
If you get yourself 17 gauge needles, the jewelry slides right into the back of the needle. It makes for a perfect transfer. There’s no blood, nothing like that.
For this piercing, you want to use a 17 gauge needle with captive starter earrings. The 17 gauge needle helix piercing setup ensures a clean, smooth procedure.
Proper Helix Piercing Technique: Needle Transfer Method
Now let me show you exactly how should a helix piercing be done using the 17 gauge needle and captive earrings together. The helix piercing transfer technique makes for a perfect transfer of jewelry.
Step 1: Prepare the Needle and Jewelry
First, lubricate the needle with some petroleum jelly. Slide the jewelry right into the back of the needle. Get the cork ready.
Always make sure you hold the cork to the back of the ear during the piercing—another essential detail in how should a helix piercing be done properly.
Step 2: The Transfer Technique
Have the client take a deep breath in. As soon as the needle goes into the cork, hold the back of the ear. You don’t want to let the ear go.
Let go of the cork and hold the back of the ear. Push the jewelry all the way through. Put the back on. You just want to hear one click. This will give it enough space for healing and just in case of swelling.
Helix Piercing Aftercare and Healing Time
Once you’ve learned how should a helix piercing be done, the next question is how long does helix piercing take to heal? The cartilage helix takes at least nine months to heal. At least nine months. Do not change the jewelry for at least nine months.
Cleaning Your Helix Piercing
Use adult sensitive skin soap to wash it with once a day. Get yourself Neilmed piercing aftercare. This is hands down the best piercing aftercare product for healing. It comes with a fine mist. Spray the front. Spray the back.
Avoiding Swelling: Sleep Position Matters
Try your best not to sleep on that side. If you sleep on that side, you’re gonna cut off the circulation. It’s gonna swell. It’s gonna get irritated.
This is critical advice for helix piercing swelling prevention. Do not sleep on the helix piercing during the healing period. How do you sleep with a helix piercing? Use our piercing pillow.
Quick Helix Piercing Tips
To recap the key points about how should a helix piercing be done and how to avoid migration or irritation:
- Always use a hollow piercing needle, never a piercing gun
- Use 17 gauge needles with cathon earrings for best results
- Mark the placement in the curve of the ear, not on the flat or ridge
- Let the client approve the placement before piercing
- Hold the cork, then hold the back of the ear during the transfer
- Spray Neilmed aftercare on front and back daily
- Avoid sleeping on the pierced ear for at least nine months
- Don’t change jewelry before nine months of healing
If you have any questions or concerns at all, reach out to a professional piercer in your area.